Showing posts with label hat. Show all posts

Wednesday, October 3, 2012

Super easy double crochet baby hat


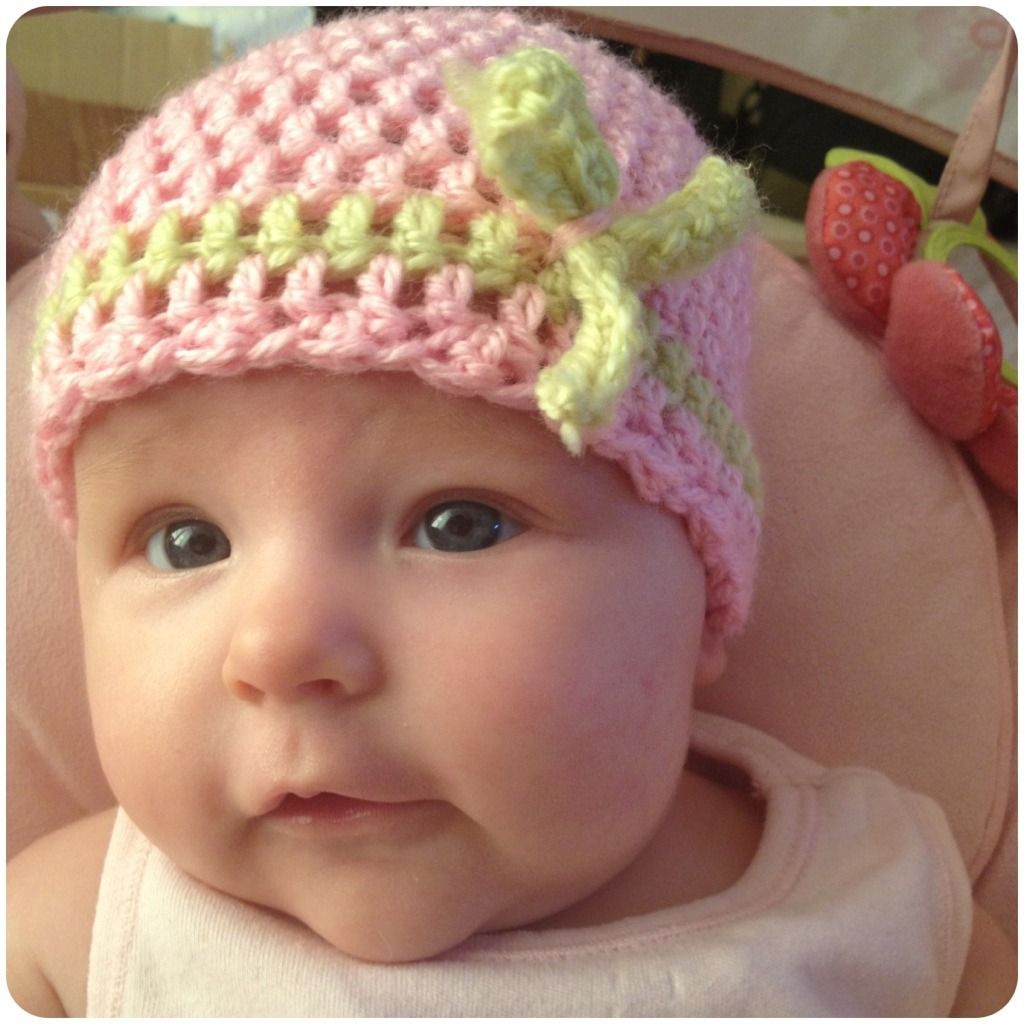
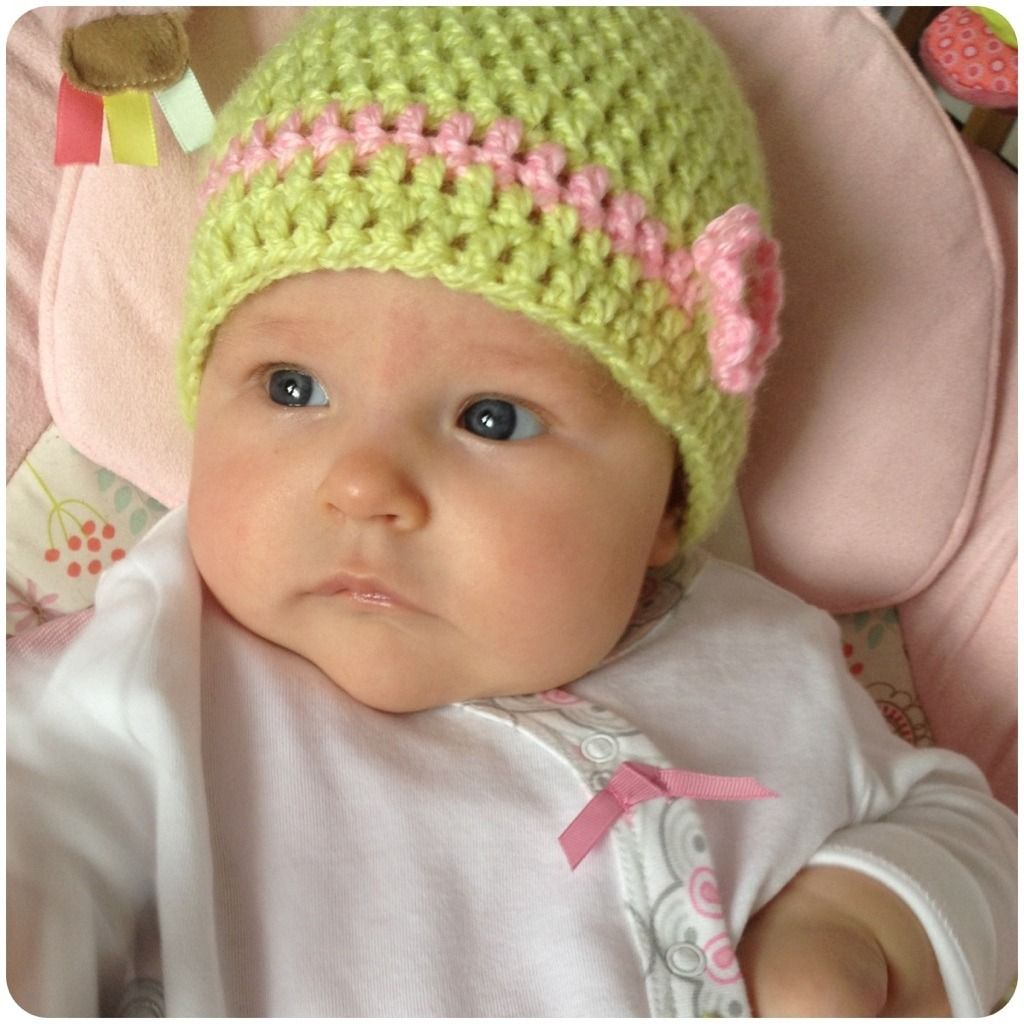
IQ modelling the lime and pink hat
IQ modelling the pink and lime hat


(EDIT: This pattern was edited on 13/02/13. I must apologise, the original instructions were incorrect for the size of hat indicated. Rookie error on my part. Thank you for all your feedback, without which I would not have realised my mistake!)

I can't believe that I actually made time for crafting!

I made this super simple baby hat for IQ last week and have had many compliments while out and about. Grannies love a baby in something knitted/crochet and my girl is always wearing something that fits that category! (Grannies love babies full stop!)

This super simple double crochet hat will fit a baby approx 0-6 months.

You will need:

4mm crochet hook
Yarn of your choice (preferably baby DK) in 2 colours

Stitches used:

Chain, slip stitch, double crochet (in American DC = UK Treble)

Gauge:

6 DC and 4 rows make a 4x4 inch square

Please note:
This hat is worked in the round, do not turn the piece while working. Each round is joined with a slip stitch to the second CH at the beginning of the row.

Instructions for the hat:

With 1st colour
ROUND 1: Ch4, join with SS to form a ring
ROUND 2: CH2, 12 DC in centre of ring, join with SS to 2nd CH from beginning of round (do this in every subsequent rounds) (12)
ROUND 3: CH2, 2DC in each DC around, join with SS (24)
ROUND 4: CH2, [2 DC in next DC, 1DC in next DC] repeat all around, join (36)
ROUND 5: CH 2, [2 DC in next DC, 1 DC in next 2 DC] repeat all around, join (48)
ROUND 6 - 13 : CH 2, DC in each DC (48)

Join second colour on joining slip stitch.
ROUND 14: CH2, DC in each DC, break yarn (2nd colour) (48)

Join first colour on joining slip stitch
ROUND 15 & 16: join, CH 2, DC in each DC, join. (48)

Alternative finishing row makes a small scalloped edge (like in the pink with lime stripe above)
ROUND 16: join, CH 2, [DC in next DC, SS in next DC] repeat around, join and fasten off. (48)

Fasten off and weave in ends.

You can also add an embellishment, I added a small flower on the lime hat but whatever you choose to add, make sure it's attached securely to baby can't pull it off. I did try to do a bow on the pink and lime hat but it doesn't really work so I've pulled it off - but you can see in the photograph, it's just all wonky looking!

Please let me know if you use this pattern, photographs of finished pieces would be lovely to see!

Monday, April 30, 2012

Firstborn Knitted Baby Bobble Hat

I was looking around the Internet for a knit flat newborn baby hat and didn't have much luck finding one. They were all either knitted on DPNS or on circular needles in the round. I really couldn't be bothered to dig out my circulars and I don't own DPNS, so, you guessed it, I wrote my own pattern. It's so easy and I was surprised that I couldn't find one online. Maybe my pregnancy brain made them invisible...

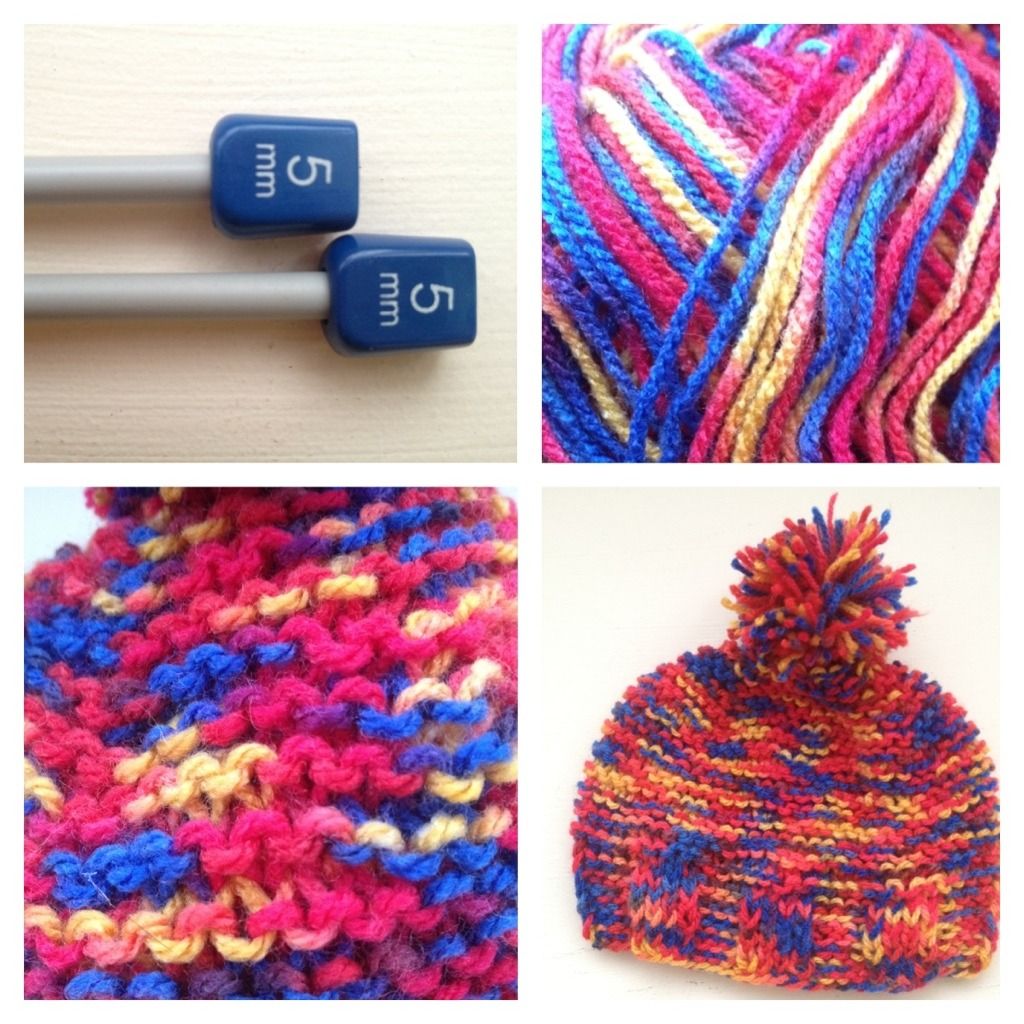
The newborn baby hat is knitted flat on 5mm straight knitting needles and sewn up the side once finished. I'm not the fastest of knitters and this only took me two evenings (approx 6 hours) to make, so I'm sure the more experienced knitters will be able to complete it in half the time.

The size of this hat is for a newborn, approx 11-13 inches head circumference and 5.5inches tall. This hat should fit newborn up to 3 months of age.

The materials you will need to make this easy newborn hat:
  • wool of your choice, I used Patons 'FAB!' DK
  • straight 5mm knitting needles
  • darning needle / crochet hook to make up
  • measuring tape / ruler

The stitches/techniques you will need to know to make this hat:
  • cast on
  • knit and purl stitches
  • K2TOG - knit two together
  • whip/blanket stitch to make up
  • pom-pom skillz
The easy-peasy pattern to make this hat is as follows:

Using straight 5mm needles, CO 60 stitches (I used a long-tail cast on but use whatever technique you're most comfortable with)

Ribbing: K4, P4 until end
Work in k4,p4 ribbing until ribbed band measures 1 inch

Work in garter stitch (knit every row) until entire piece including ribbing measures 4 inches


DEC row 1: *knit 6 stitches, k2tog* repeat to end.
Knit next row without decreasing to end

DEC row 2: *knit 5 stitches, k2tog* repeat to end
Knit next row without decreasing to end

DEC row 3: *knit 4 stitches, k2tog* repeat to end
Knit next row without decreasing to end

DEC row 4: *knit 3 stitches, k2tog* repeat to end
Knit next row without decreasing to end

DEC row 5: *knit 2 stitches, k2tog* repeat to end
Knit next row without decreasing to end

DEC row 6: *knit 1 stitch, k2tog* repeat to end
Knit next row without decreasing to end

DEC row 7: *k2tog* repeat to end

Break yarn leaving a long tail and thread tail through remaining stitches on needle. Pull tightly closed. Use the rest the tail to make up the side using whip/blanket stitch.

If you so wish, get your pom-pom skillz out and make a fancy topper for your hat. Voila! Told you it was easy :)