Today's guest post for The Crafting Days of Christmas comes from my cousin Stacey. Stacey runs a lovely company called Designs By Stacey. Stacey has always had a passion for art and when she painted a mural for her first daughter's nursery, it started off a new career for her.
Now mum to two lovely girls, Stacey somehow manages to find enough hours in the day to craft and paint!
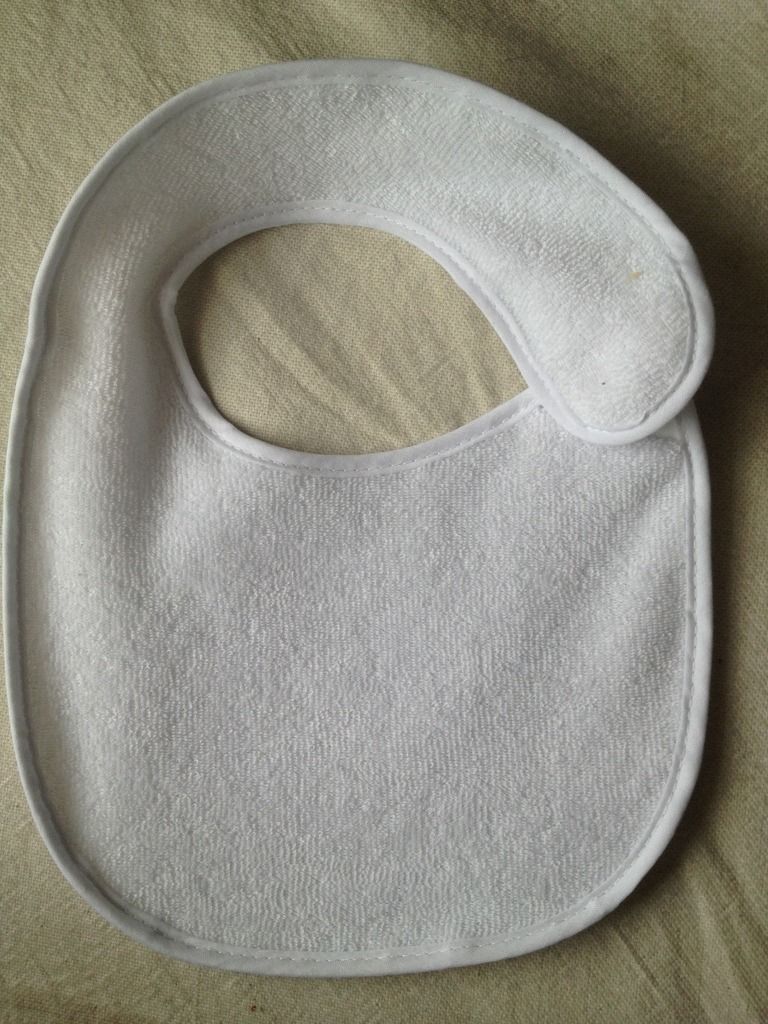
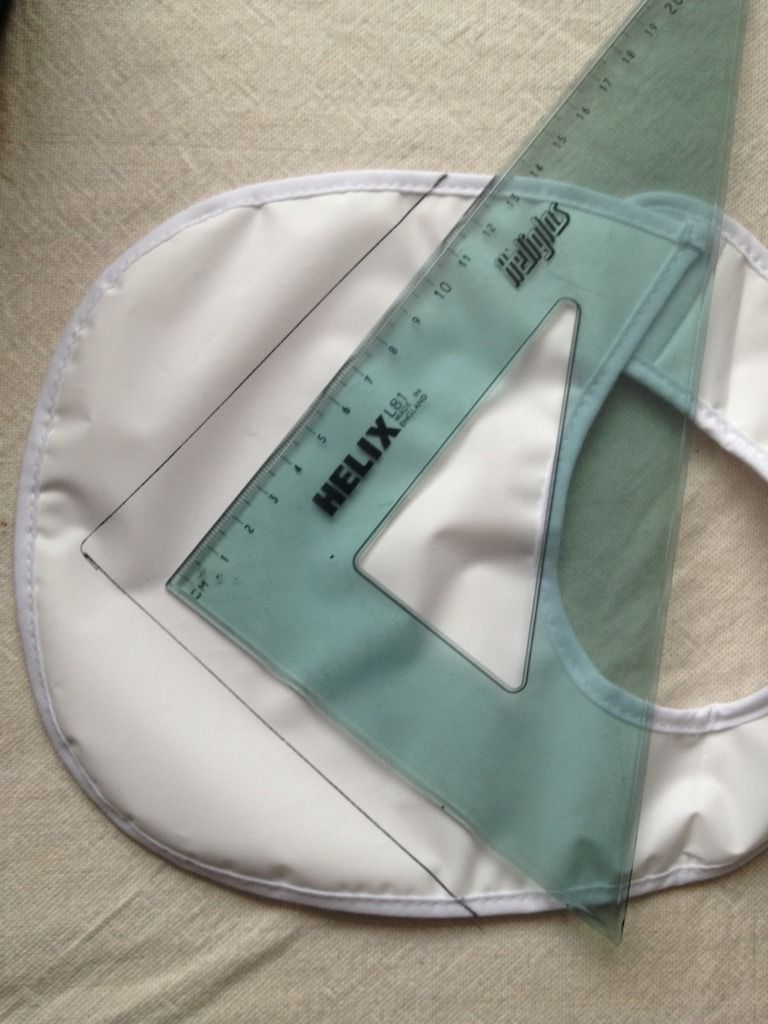
Here's a selection of her wonderful work:
 |
 |
 |
 |
This is what Stacey says about her glorious pomanders:
I remember making these pomanders at Llanciach Ffawr on a school trip once and have always fancied having a bash at making another. I spend a fortune on plug ins and especially now that all the Christmas scents are on sale in the shops (I love the smell of Christmas). So, this year, I decided to save my money and make something that will last for much much longer. Some sites have even said that they last for years!
 To make a Christmas pomander
You will need:
about 2 ounces of cloves per whole orange
'x' amount of oranges depending on how many you want to make
ribbon
maybe a thimble (some of the cloves can be quite sharp!)
How to:
Step 1 - Tie a ribbon around your orange crossing it at the top and bottom and then making a bow.
Step 2 - Pierce the orange with the cloves- remember to leave a small space between each clove as the orange will shrink as it dries out.
Step 3 - Hang it up! Simple as that! Your house will smell of Christmas without the need for expensive plug ins!
Tips: Add a sprig of holly to the bow for extra decoration. Supermarkets can be quite pricey on cloves so try health shops or online. I bought a 250g bag online for £4.20 and it'll make lots of pomanders!
Don't forget to check out Stacey's website.
This guest post was brought to you by Stitch N Ting as part of the Crafting Days of Christmas blog hop!
Don't forget to check out Stacey's website.
This guest post was brought to you by Stitch N Ting as part of the Crafting Days of Christmas blog hop!