Showing posts with label decorations. Show all posts

Sunday, December 2, 2012

Dried Orange and Cinnamon Decorations

I love the smell of Christmas. It's a smell that when you close you eyes and concentrate, you can recreate it in your head every time. It makes me think of open fires, family, new pajamas and walks in the snow (when we have some).

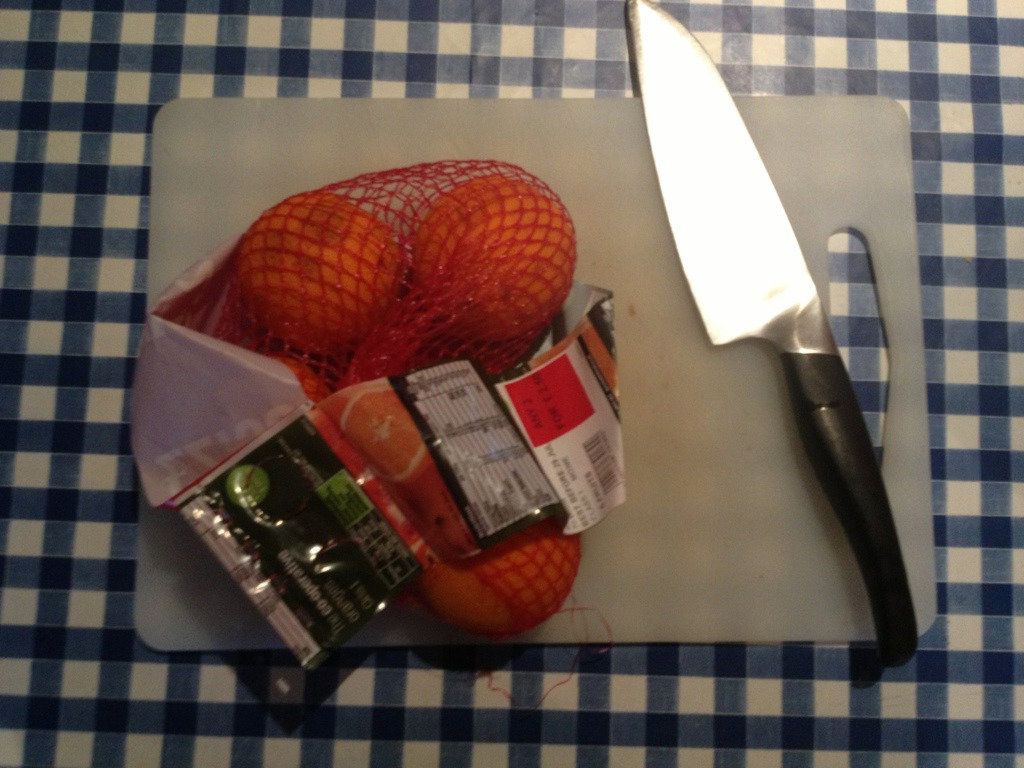
I had a few oranges laying to waste in the bottom of the fridge so instead of throwing them in the bin (I hate wasting food) I'd dry them out and make some traditional scented orange and cinnamon decorations.

What you'll need:

Oranges, preferably large ones
Sharp knife & chopping board
Flat baking trays
Cinnamon sticks or cinnamon essential oil
Ribbon / string / wool / elastic for tying and embellishing
How to make them:

Step 1 - Pre-heat your oven to 100 degrees C

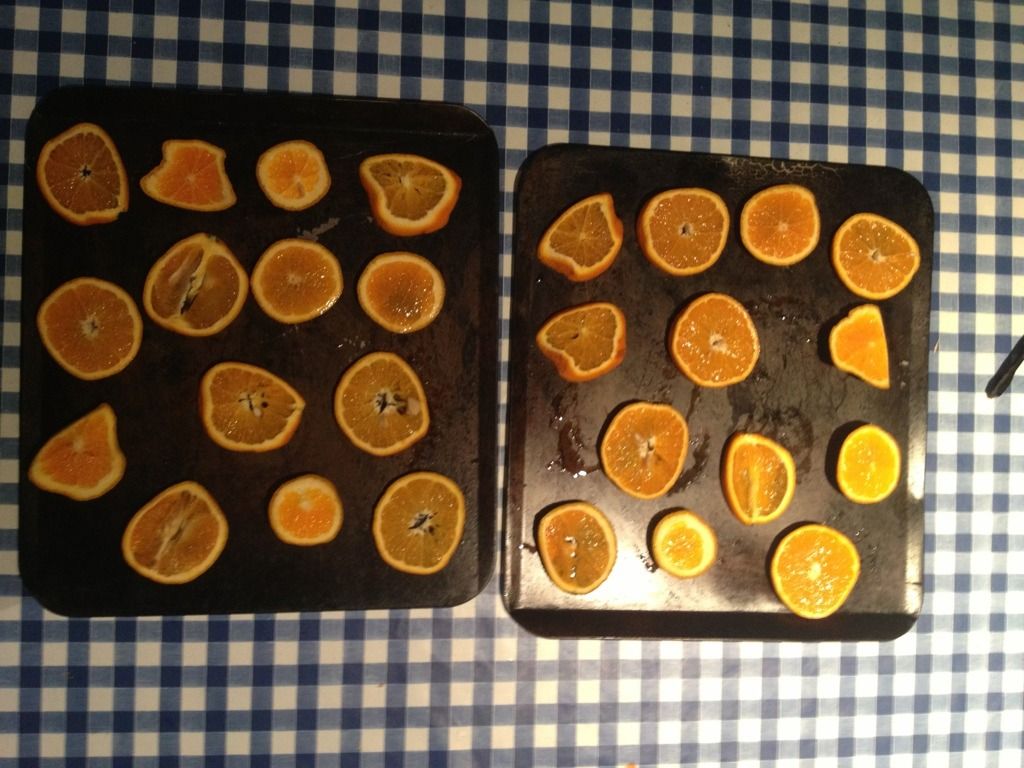
Step 2 - Lay your orange so that the top where the stem used to be is at 9 o'clock and the bottom is at 3 o'clock. This means you'll get a nice cross section of the orange when you slice and the piece won't fall apart. Slice your oranges thinly (less than 1cm thick) with a really sharp knife.

Step 3 - Space out your orange slices on some flat baking trays and bake in the oven for around 2-3 hours. I have a convection oven so it gets pretty hot in there! You may need to cook for longer but until the pieces are dry to the touch and don't stick to the try when you lift them up.

Step 4 - If you're using cinnamon oil, drip a single drop on the centre of each orange segment.
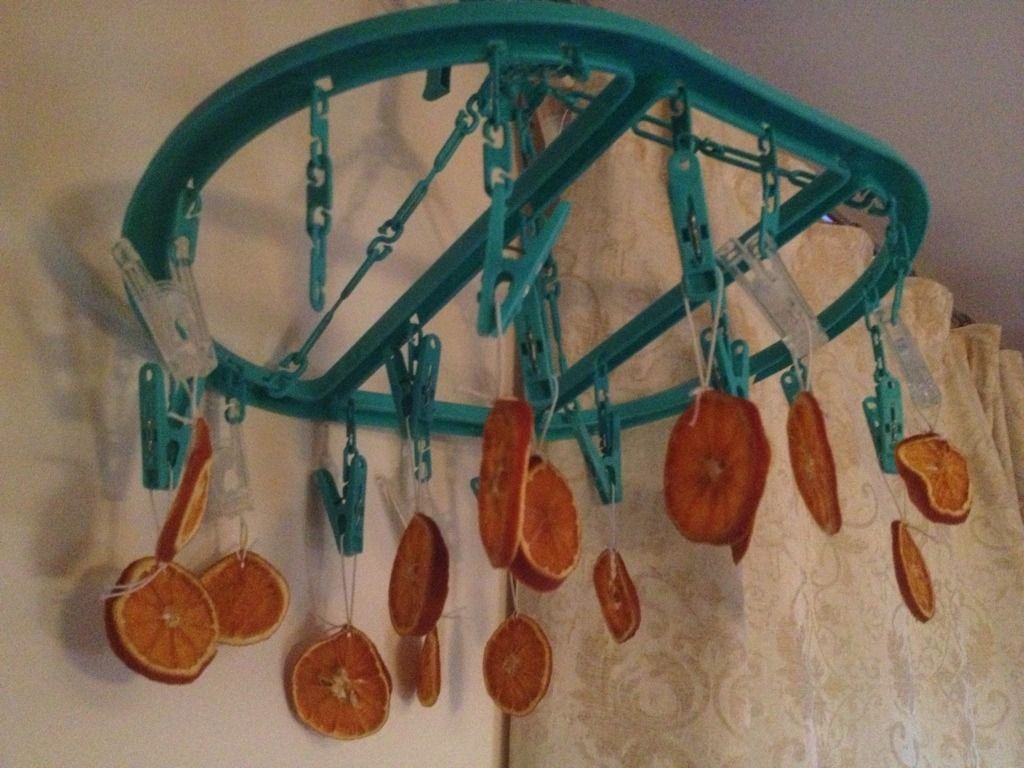
Step 5 - Make a small hole at the top of a slice and thread ribbon/string through it and tie to make a loop. Use these as single decorations and embellish with a bow tied to the string.

Step 6 - if you're using cinnamon sticks tie another piece if ribbon / wool around the stick and tie this piece toto the orange's thread.

You can also embellish in other ways such as adding glitter, beads or different scented oils. You could also string them together to make a festive orange garland for your tree or fireplace. How about drying some lemons and cranberries and making your own festive pot-purri? The list is endless!

This post is part of the Crafting Days of Christmas blog-hop! Why not join in on the festive creativity?


Saturday, December 1, 2012

The Crafting Days of Christmas Blog-Hop

So today is the 1st of December and that means it's time for The Crafting Days of Christmas blog-hop!
Please visit the link for buttons to add to your blog or see the right hand sidebar of my blog for the code.

There aren't any strict rule to this blog-hop other than add your link to your Christmas blog or craft posts and have a browse at the other links and meet some new bloggy friends and hopefully find some interesting Christmas crafts along the way. You're not limited to one link either, if you write multiple posts about Christmas crafts please feel free to add them to the blog-hop.

Don't forget to comment on any new blogs you follow so that the owners can follow you back!

The first few links are from the following bloggers: Myself, of course! Ros @ Ros Made Me and Kara @ Happy Go Lucky. Click their links below to see their crafty Christmas posts. (Please note the Christmas Pomander link is a scheduled link and won't be live until the 2nd!)

Happy crafting!

(I've also scheduled a few crafty posts of my own for the next few days as I'm going to London over the weekend and will be shaking my boots at the Alexisonfire gig on Monday, oh I cannot wait!)

Monday, November 19, 2012

Handmade Fabric Christmas Wreath

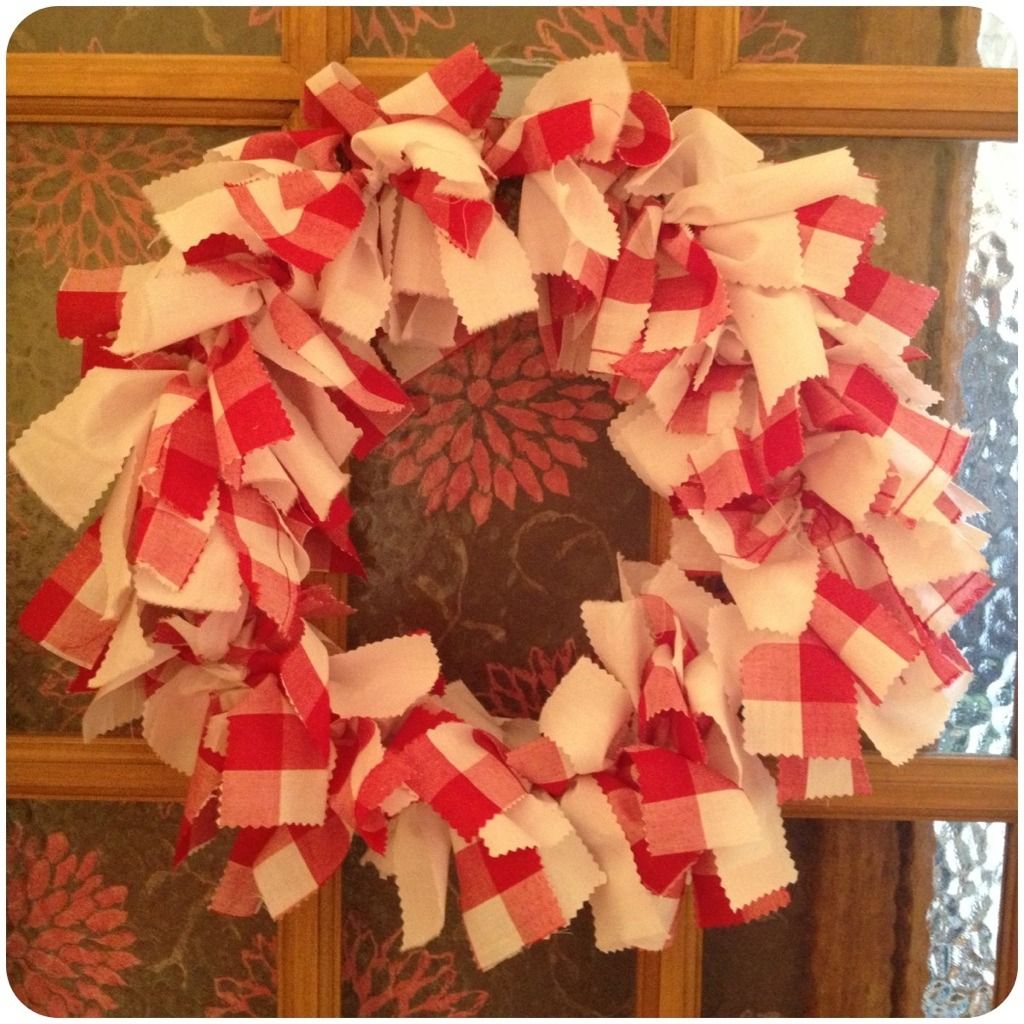
When visiting my local yarn store last week, Knit Wits and Crafty Bits (awesome name), I saw that they had a fabric wreath for sale. Of course, it was handmade and very lovely. I thought to myself "hey, I could make that!".

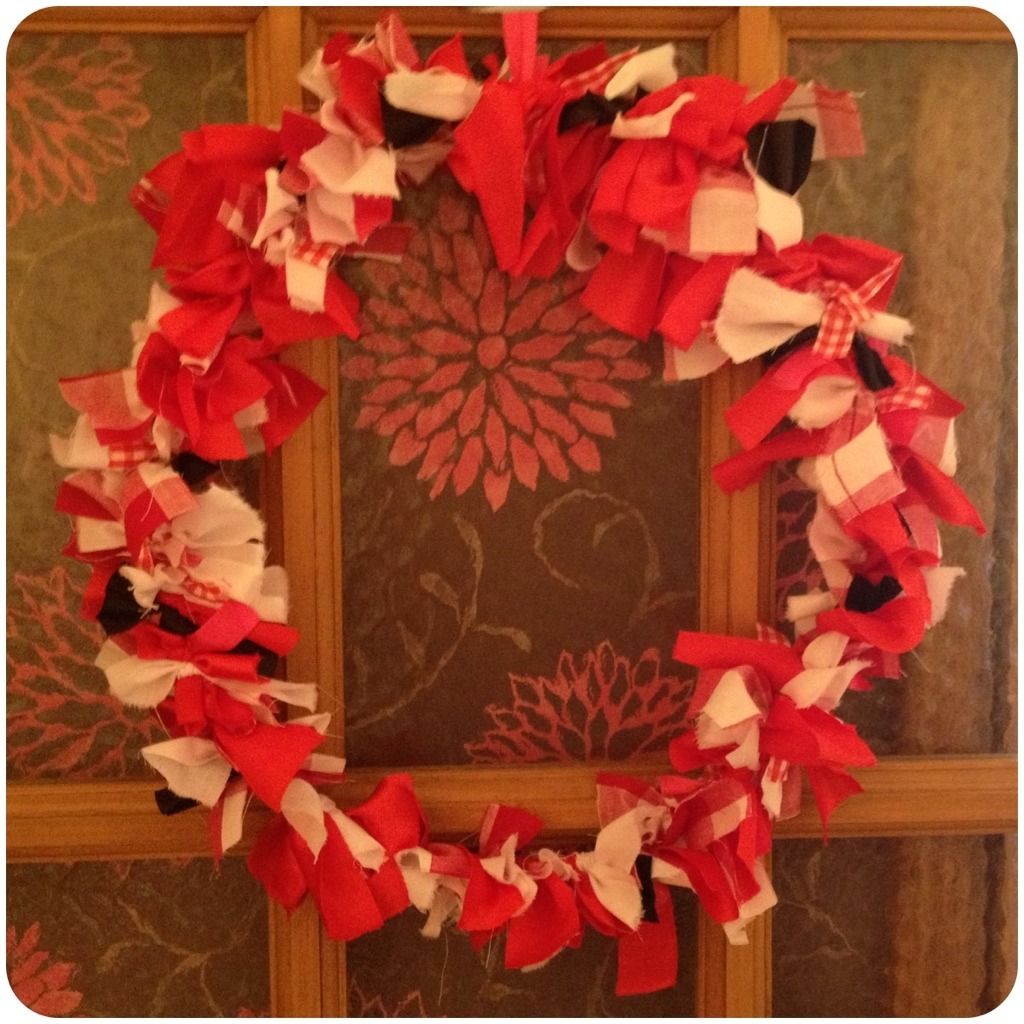
I managed to find time to craft over the last week and as Christmas is around the corner I decided to make two of these fabric wreaths. One is supposed to be for my mum and I'll hate parting with it so I may end up making another! This is so simple to make and should only take about an hour, great as a gift for friends and relatives.

The first wreath I made was with a selection of fabric and ribbon and the second was just made with fabric.

What You'll Need
Fabric, at least 2 different colours about 1 metre each
Ribbon
Scissors, although pinking shears worked best for me
Gardening or stiff craft wire
Wire cutters
A circle to use as a template for the wreath, I used a circular pillow but a large dinner plate would work also

How To Make It
1 - take your wire and wrap around template circle a few times, cut wire and wrap ends around. Fasten down with tape if the ends are sharp.

2 - cut your fabric in to 7inch long by 2 inch strips.

3 - Start tying the fabric strips around the wire, packing them closely and alternating colours. Try to tie the knots in different directions to make the fabric "splay" out.

4 - keep tying until the wire is completely covered.

5 - take a 10 inch long piece of ribbon and tie a loop around the wire.

Done! Easy peasy!