
 Last weekend the husband and I started on a long overdue DIY project. Since moving into this house last September, there were a few things about the kitchen that bugged us. Overall, it's an amazing room. It has space for a small dining table, more cupboards that I know what to do with (even though they're all full), plenty of worktop space and at the jealousy of my mother, it also has a pull out wine rack.
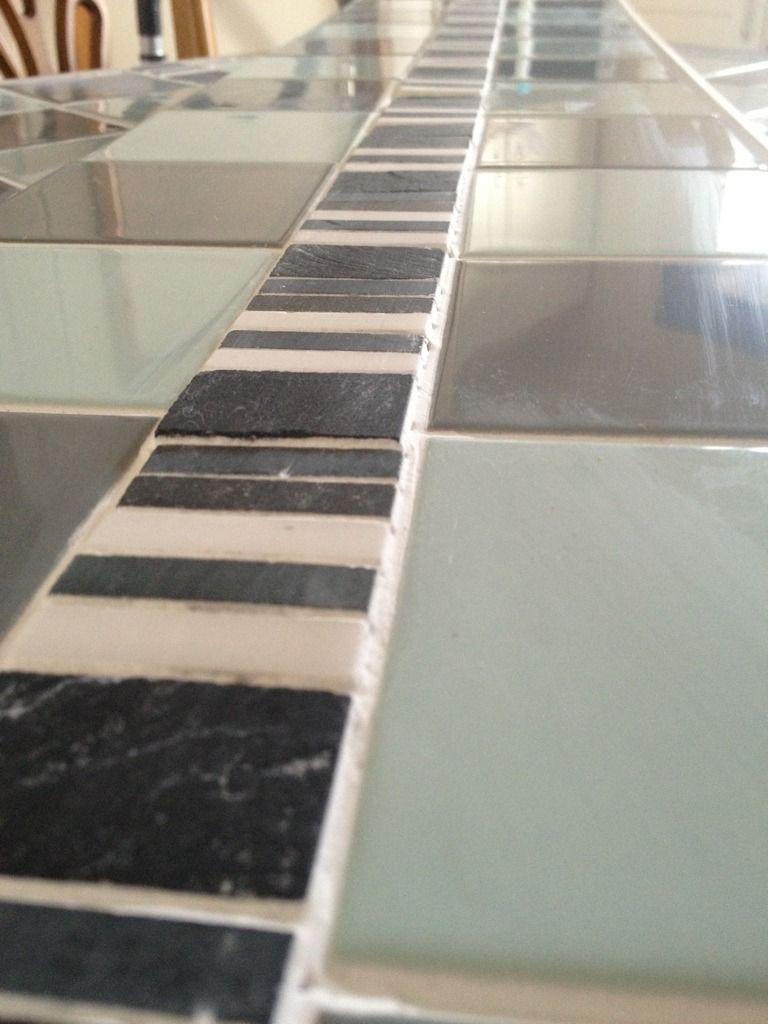 However, it does have a uselessly small circular sink which will result in you reaching for a knife to jimmy out a mis-placed plate. The walls are clad with wood, thankfully not to god awful pine clad walls of the 70s, this is tastefully done and when painted cream, gives our kitchen a country cottage feel. The only problem with this cladding is that when you wash up or cook, it results in the paint peeling off the wood and the wood itself starts to warp. We were especially worried around the sink area as I'm someone who cannot wash a single cup without soaking myself and everything around me. The water would regularly disappear in the gap between the wood and the worktop and I dread to think how moldy and blackened behind the worktop is as a result.
We decided to try our hands at making two tiled sheets, one for behind the sink and one for behind the hob to try and save the wood. We trooped around our local B&Q (home DIY store) and bought some supplies:
- MDF board
- 10mm square tiles and some accent tiles
- Tile spacers
- Tile adhesive and grout
- Grout spreader
- Wooden edging
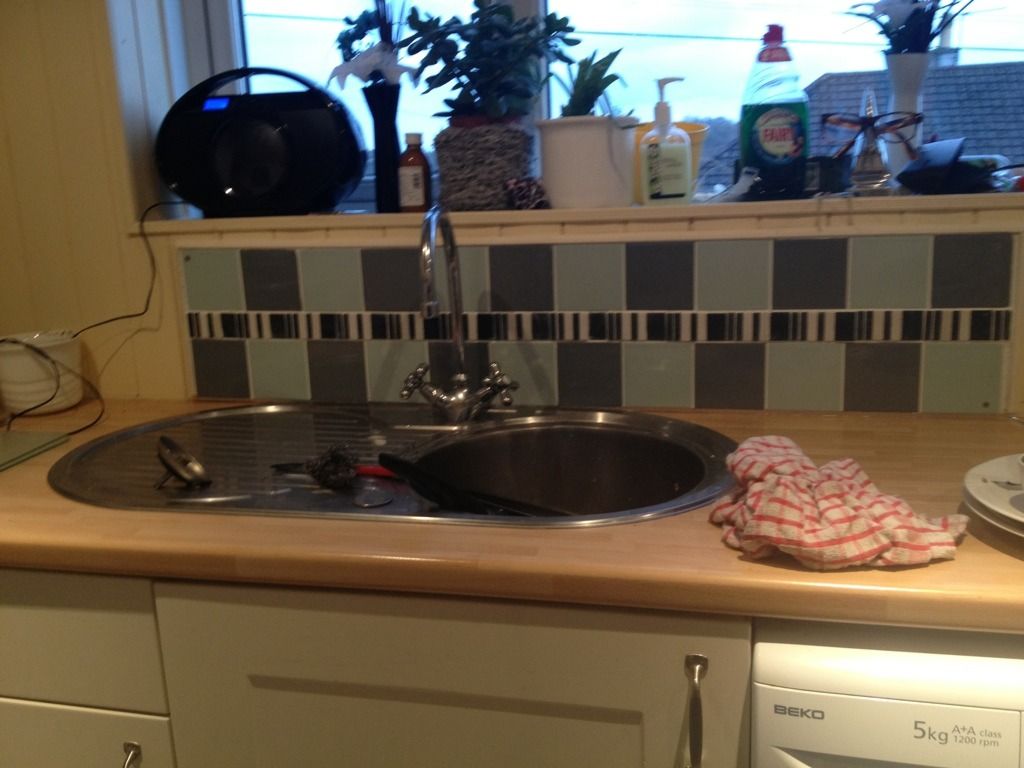 |
| The stupid sink and the lovely tiles |
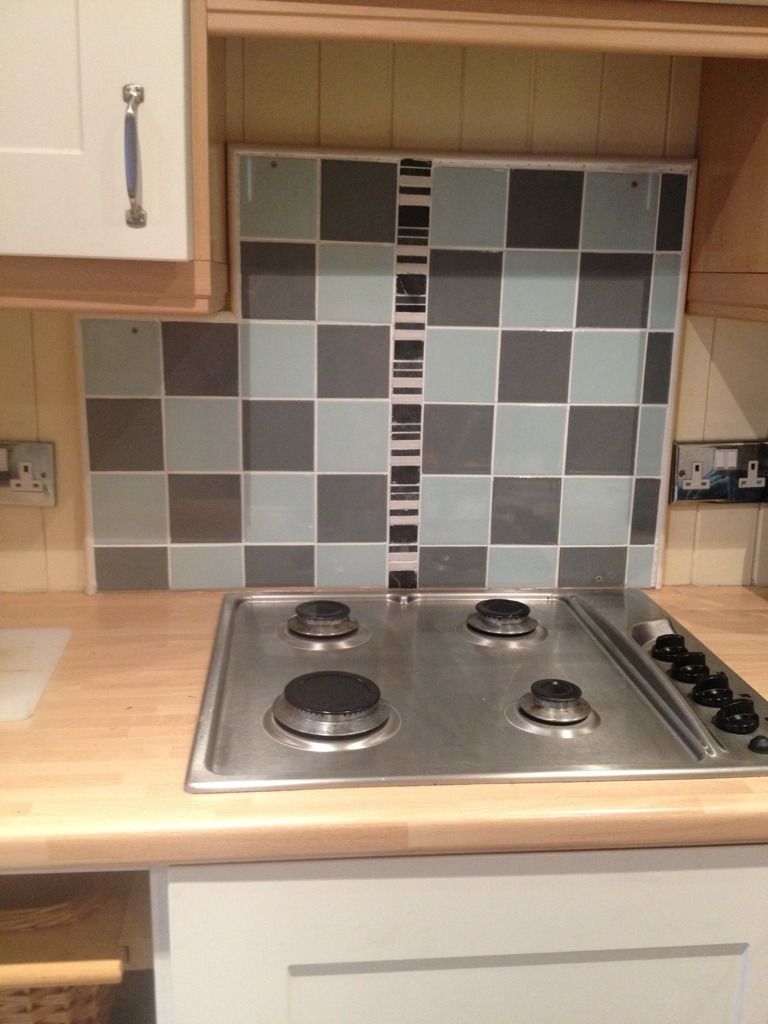 |
| The hob |
Two (almost) professional looking tiled boards for our kitchen.
such clever kids!
ReplyDelete